


在AutoCAD中渲染输出场景模型的方法和技巧实例操作过程:
完成效果
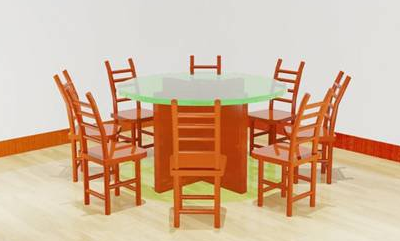
(1)执行“文件”→“打开”命令,打开本书附带光盘Chapter-14“室内场景.dwg”文件。激活“相机1”视图,对场景进行渲染,可观察到使用默认设置渲染出场景的场景效果,如所示。

原场景效果
(2)执行“视图”→“渲染”→“高级渲染设置”命令,或者在“渲染”工具栏中单击
“高级渲染设置”按钮,打开“高级渲染设置”选项板,如图所示。
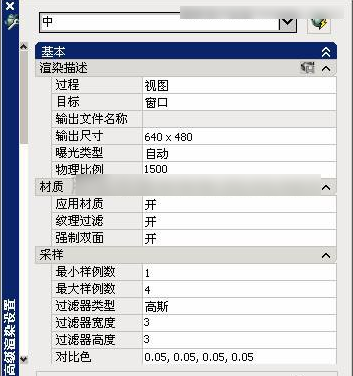
“高级渲染设置”选项板
(3)在“高级渲染设置”选项板顶端的“渲染预设”下拉列表中选择“高”选项,然后在“基本”卷展栏中,对渲染输出图像的分辨率进行设置,如图所示。
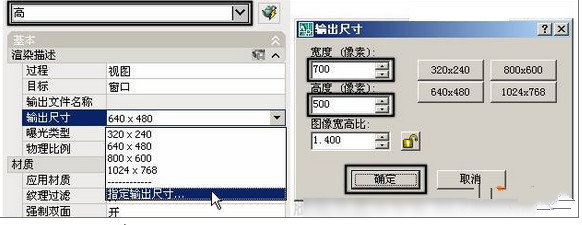
设置图像输出分辨率
(4)接着在“间接发光”卷展栏中,单击“全局照明”标题栏右侧的
“指定光源是否应该将间接光投射到场景中。”按钮,启用“全局照明”方式,如图所示。

启用“全局照明”方式
提示:在“高级渲染设置”选项组中,用户还可以对图像质量、阴影、光线跟踪反射和折射、最终聚集等渲染参数进行设置,以达到理想的图像效果。
(5)单击“高级渲染设置”选项板右上角的
“渲染”按钮,或者在“渲染”工具栏中单击
“渲染”按钮,在“渲染”窗口中对场景进行渲染,如图所示。
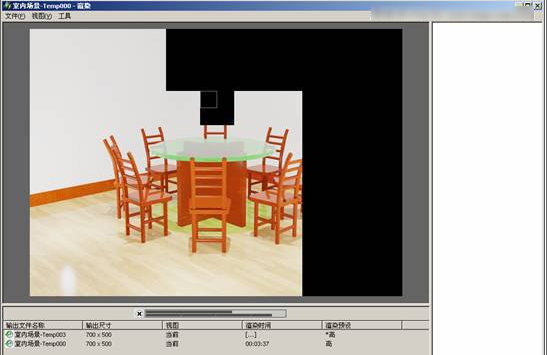
“渲染”窗口
提示:在渲染过程中,如果用户提前发现渲染的效果不是理想中的效果,可按键,终止渲染并关闭“渲染”窗口。如果只想终止渲染而不关闭“渲染”窗口,可通过单击渲染进度条左侧的图标,来取消渲染过程。
(6)渲染完毕后,效果如图所示。
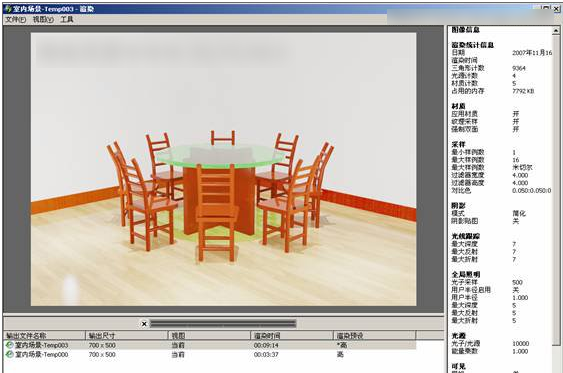
渲染后的场景效果
提示:如果用户制作的是一个室外的三维场景,有时需要为其添加环境“雾”效果。通过单击“渲染”工具栏中的
“渲染环境”按钮,打开“渲染环境”对话框,如图所示。在该对话框中可启用“雾”效果,并对雾的颜色、衰减和影响范围等参数进行设置。
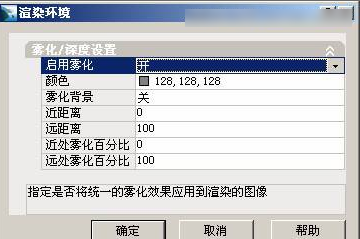
“渲染环境”对话框
(7)在“渲染”窗口中执行“文件”→“保存”命令,打开“渲染输出文件”对话框,如图所示。
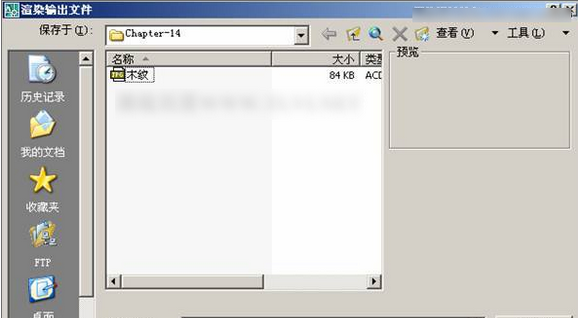
“渲染输出文件”对话框
(8)设置要渲染输出文件的保存路径,然后参照图所示对渲染输出的图像文件名称和格式进行设置,然后单击“保存”按钮退出对话框。

设置文件名称和格式
提示:在AutoCAD中可以输出多种不同格式的图像文件,如BMP、TGA、TIF、PCX、JPG和PNG。
(9)退出“渲染输出文件”对话框后,将打开“JPEG图像选项”对话框,在该对话框中可设置图像的质量和输出文件的大小,如图所示。保持默认设置单击“确定”按钮关闭对话框,完成图像文件的输出。
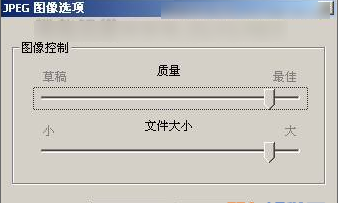
“JPEG图像选项”对话框
(10)完成图像文件的输出后,读者可从Windows资源管理器中打开输出的图像文件,查看最终效果,如图所示。
输出的图像文件
——————————————————————————————————————————————————————————————————————————————


